Coloring Books for Beginners: Tips and Techniques to Start
Beginning your trip into the world of adult coloring books can be an exciting and soothing adventure, but it’s critical to have a firm foundation in “Coloring Books for Beginners: Tips and Techniques” to maximize your experience. Understanding the fundamentals will allow you to build your talents and explore numerous artistic techniques as you enter into this creative area.
In this comprehensive guide on Coloring Books for Beginners: Tips and Techniques, we’ll cover everything from choosing the right coloring book that suits your preferences to preparing your work area for optimal comfort. We’ll also delve into color theory principles that will help you create stunning pages with vibrant hues and harmonious palettes.
Furthermore, we’ll discuss various techniques such as blending, shading, and layering colors using different mediums like colored pencils or alcohol markers. Finally, we’ll touch upon finishing touches that can elevate your artwork beyond simple coloring pages.
Table of Contents
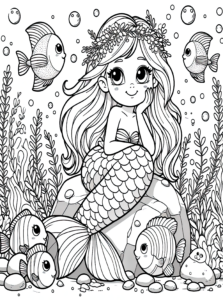
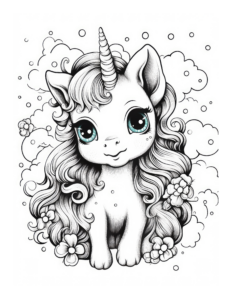
Choosing the Right Coloring Book
For those just starting with coloring, it can be difficult to pick the right book; however, here are some tips that may help. Discovering the perfect coloring book amongst the vast array of options can be daunting. Here are some tips to help you choose an ideal coloring book:
- Consider your interests: Pick a theme or subject matter that appeals to you personally. This will make your coloring experience more enjoyable and engaging.
- Look for simple designs: As a beginner, opt for books with less intricate patterns and larger spaces to color in. This will allow you to practice without feeling overwhelmed by complex details.
- Paper quality matters: Invest in a book with good-quality paper that can handle various types of media like colored pencils, markers, or gel pens without bleeding through or tearing easily.
- User-friendly layout: Choose a book with single-sided pages if possible so that colors don’t bleed onto other images when using wet media such as markers.
A great place to start looking for beginner-friendly adult coloring books is on websites like Amazon where they have dedicated sections specifically tailored towards novice colorists (Amazon Best Sellers: Adult Coloring Books). You may also find inspiration from online communities such as Pinterest boards dedicated solely towards adult-coloring enthusiasts (Pinterest Adult Coloring Pages Boards).
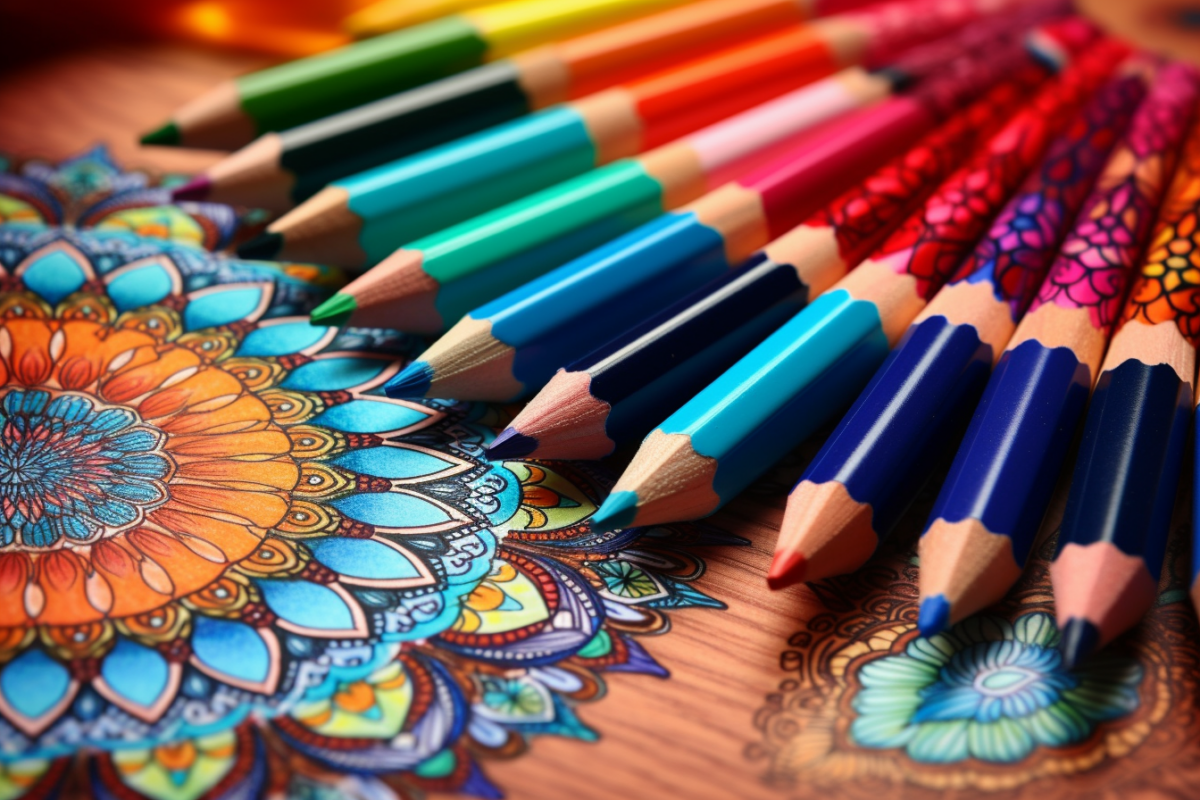
Selecting Your Coloring Tools
In addition to choosing the right book, it’s equally important to select the appropriate coloring tools. Some popular options include:
- Colored pencils: Ideal for beginners due to their precision and ease of use. Opt for a quality set with a wide range of colors.
- Markers: Provide vibrant, bold colors that may bleed through pages if not used carefully. Choose alcohol-based markers for smooth blending or water-based markers for less bleed-through risk.
- Gel pens: Offer fine details and unique effects like glitter, metallic, or neon finishes. However, they can be more challenging to control compared to colored pencils.
You don’t need an extensive collection of tools when starting – just focus on one medium that you feel comfortable using and expand your toolkit as you gain confidence in your coloring abilities. Some simple tips to keep in mind when coloring include:
- Start coloring: Don’t be afraid to start coloring and experimenting with different techniques.
- Choosing colors: Consider using a color wheel to help you choose complementary colors or shades that work well together.
- Light vs. dark colors: Use lighter colors for areas that need highlighting and darker shades for shading or creating depth.
- Watercolor pencils and paints: These can add a unique touch to your coloring pages and can be blended with water for a watercolor effect.
- Glitter pens: Add some sparkle and shine to your coloring pages with glitter pens.
Remember, coloring is a journey, and everyone’s coloring skills develop at their own pace. Don’t be discouraged if your coloring doesn’t turn out the way you envisioned it. With practice and patience, you’ll soon be creating beautiful works of art. Happy coloring.
When picking a coloring book, it’s wise to think about the kind of illustrations that match your abilities and interests. Now let’s look at how you can prepare your work area for optimal comfort and enjoyment when starting to color.
Key Takeaway:
Choosing the right coloring book is essential for beginners. Opt for simple designs, good-quality paper, and a user-friendly layout. When selecting your coloring tools, start with one medium that you feel comfortable using and expand as you gain confidence in your abilities. Remember to experiment with different techniques and have fun on this journey of self-expression.
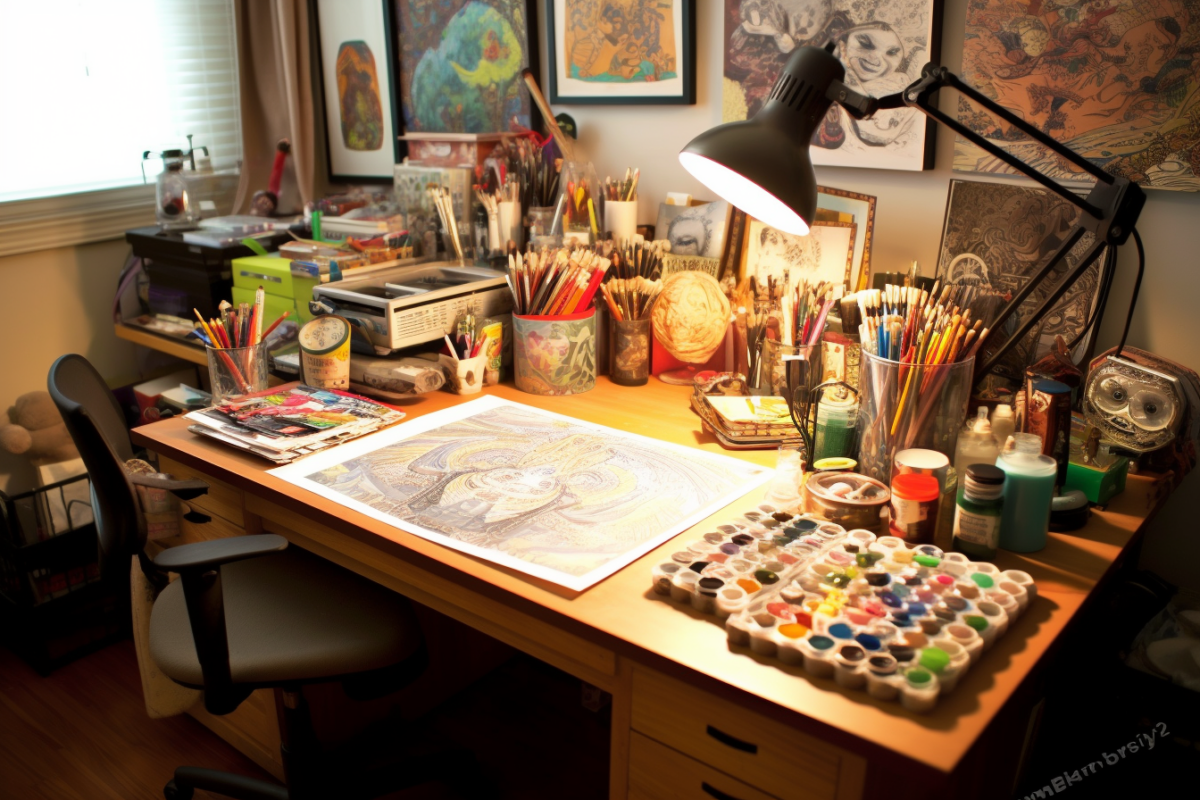
Preparing Your Work Area
Setting up a comfortable and efficient workspace is essential for enjoying your coloring experience. A well-organized work area can help you focus on your creative process, reduce distractions, and prevent any potential damage to your coloring materials or artwork. Here are some tips on how to set up the perfect workspace for coloring:
Create a Comfortable Seating Arrangement
Choose a chair that provides proper back support and allows you to maintain good posture while working on your coloring projects. Ensure that the height of the table and chair are appropriate so that you don’t strain yourself while reaching out for supplies.
Select an Appropriate Surface
Pick a flat surface with enough space to spread out all of your tools comfortably without feeling cramped. Make sure it’s clean, smooth, and free from debris or moisture that could potentially damage your coloring book pages or utensils.
Gather Your Coloring Supplies
- Pencils: Colored pencils are ideal for beginners as they offer precision control over the color application.
- Markers: Choose markers with fine tips for detailed work in smaller areas of the design.
- Crayons: Crayons provide rich colors but may be more challenging when it comes to blending techniques; however, they’re still great options if preferred by users.
- Erasers & Sharpeners: Keep these handy tools nearby in case mistakes happen or pencil points need sharpening during use.
Tips For Organizing Your Supplies
- Use a pencil case or organizer to keep your coloring tools in one place and easily accessible.
- Sort your pencils, markers, and crayons by color for quick access while working on your project.
- Create designated areas for sharpeners, erasers, and other accessories so they don’t get lost or misplaced during use.
Ensure Proper Lighting
Adequate lighting is crucial when working with colors. Natural light is the best option as it provides accurate color representation. However, if natural light isn’t available or sufficient enough in your workspace area, consider using an adjustable desk lamp with daylight bulbs to mimic natural light conditions. This will help you see the true colors of your materials and avoid eye strain while coloring.
By following these tips on preparing a comfortable work area tailored specifically for coloring book enthusiasts like yourself at any level – beginner through advanced – you’ll be able to fully immerse yourself into this relaxing hobby without any unnecessary distractions getting in the way. Happy Coloring.
Preparing your work area is an important step in ensuring a successful coloring experience. Grasping the fundamentals of hue and shade will supply you with the aptitude to select shades that are most advantageous for your task.
Key Takeaway:
To enjoy the coloring experience, it is essential to set up a comfortable and organized workspace. This includes selecting an appropriate surface, gathering necessary supplies such as colored pencils, markers, and crayons, and organizing them in a pencil case or organizer for easy access while working on your project. Adequate lighting is also crucial when working with colors to avoid eye strain and see the true colors of materials.

Understanding Color Theory
Before diving into your coloring book, it’s essential to have a basic understanding of color theory. This knowledge will help you make informed decisions when choosing colors and creating harmonious combinations in your artwork. Having an understanding of color theory is necessary for informed decisions in coloring book artwork, and we will cover the basics here.
A. The Color Wheel
The color wheel is a visual representation of colors arranged according to their chromatic relationship. It consists of primary, secondary, and tertiary colors:
- Primary Colors: Red, blue, and yellow are the three primary colors that cannot be created by mixing other hues.
- Secondary Colors: Green (blue + yellow), orange (red + yellow), and purple (red + blue) are formed by combining two primary colors.
- Tertiary Colors: These six shades result from mixing one primary color with an adjacent secondary color on the wheel.
B. Color Harmony
To create visually appealing art pieces in your coloring book, it’s crucial to understand how different colors work together or clash against each other. Here are some common techniques for achieving harmony through various color schemes:
- Analogous Colors: Selecting neighboring hues on the color wheel creates a smooth transition between similar tones for a soothing effect.
- Complementary Colors: Picking opposite colors on the wheel, such as blue and orange or red and green, produces a high contrast that can add energy to your artwork.
- Triadic Colors: This scheme involves choosing three evenly spaced hues around the color wheel for a balanced yet vibrant look.
C. Color Values and Intensity
In addition to understanding color relationships, it’s essential to consider each hue’s value (lightness or darkness) and intensity (brightness or dullness). Experimenting with different values and intensities within your chosen color schemes will help you create depth in your coloring book pages. For example:
- Use lighter shades of color for highlights and darker ones for shadows.
- Vary the intensity of colors by adding white, black, or gray to change their brightness levels.
Now that you have an understanding of basic color theory principles, you’re ready to apply these concepts when selecting colors for your coloring book pages. Keep practicing to refine your technique, as you strive for the perfect palette.
Gaining an appreciation of color theory is a key element for any aspiring artist to master. By mastering the concepts discussed in this section, you can create a signature style and have greater assurance when working with colors. Moving on, we will explore how to apply these principles through practical exercises that allow you to practice coloring books for beginners.
Key Takeaway:
Before beginning to tint, it’s essential to be familiar with the fundamentals of coloration conception. A color wheel is a useful tool for selecting colors and creating harmonious combinations in your artwork. To achieve harmony, consider using analogous or complementary colors and vary intensity levels by adding white, black, or gray.
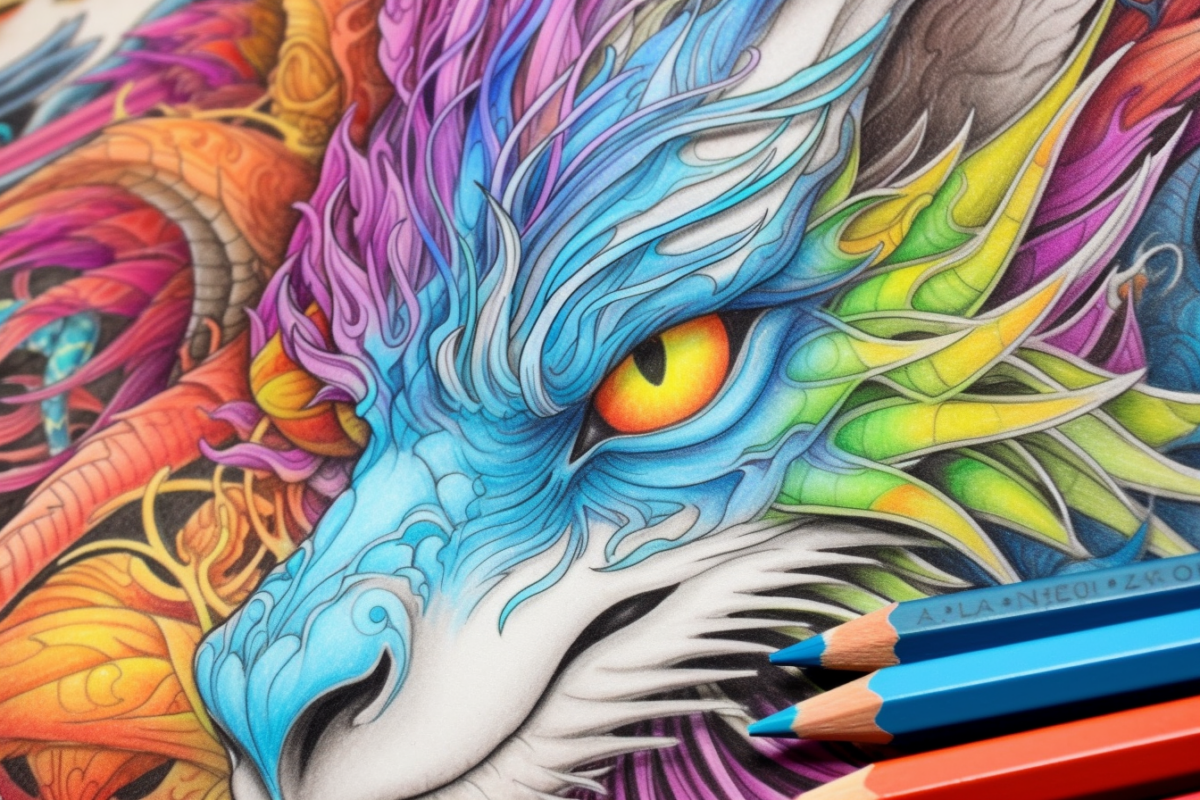
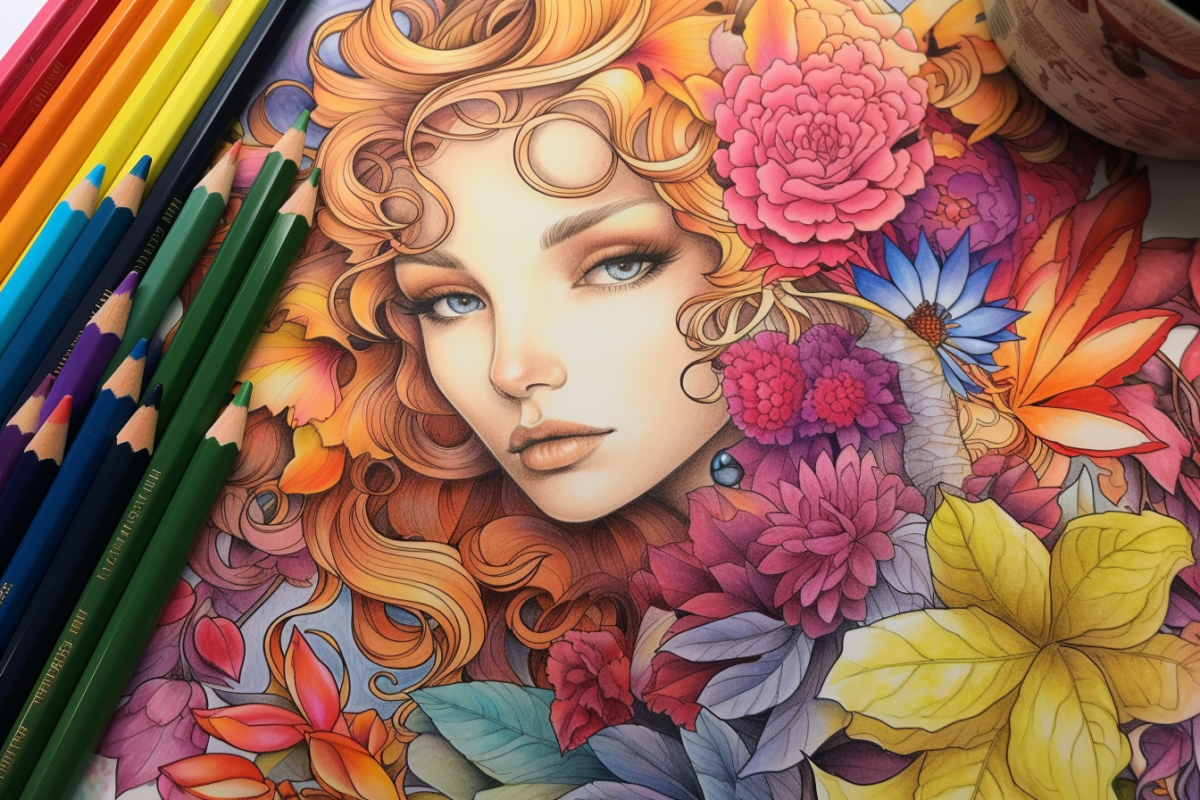
Applying Color Techniques
Once you comprehend the fundamentals of color theory, it’s time to utilize various coloring techniques in your artwork. In this section, we will discuss some popular methods for applying color in adult coloring books, such as shading and blending.
a) Shading
Shading is an essential technique that adds depth and dimension to your artwork by creating the illusion of light and shadow. To achieve this effect:
- Select two or more shades of the same color – one lighter and one darker.
- Apply the lighter shade first, covering the entire area you want to shade.
- Add the darker shade along the edges or areas where shadows would naturally occur (e.g., under folds or near other objects).
- Gently blend both colors using small circular motions with your coloring tool.
You can also experiment with different types of shading like cross-hatching or stippling. For more information on these techniques, check out this helpful guide on shading techniques for beginners.
b) Blending
Blending is another crucial skill that allows you to create smooth transitions between colors while adding depth and realism to your work. Here are some tips for successful blending:
- Pick two adjacent colors from your palette (e.g., blue-green), ensuring they are not too contrasting.
- Lay down one color first before gradually transitioning into the second color by overlapping them slightly at their meeting point.
- Create a seamless transition by gently blending the colors using small circular motions or back-and-forth strokes with your coloring tool.
- For a more advanced technique, try layering multiple colors to create unique blends and effects. This can be achieved by applying one color on top of another while still wet (for water-based mediums) or after drying (for dry mediums).
To learn more about blending techniques for various coloring tools such as colored pencils, markers, and pastels, check out this comprehensive guide on color blending techniques.
c) Experimenting with Textures
In addition to shading and blending, you can also experiment with different textures in your artwork. Adding texture helps bring life to your creations by adding visual interest and depth. Some popular texturing methods include:
- Hatching: Creating parallel lines close together.
- Cross-hatching: Drawing intersecting sets of parallel lines at angles to each other.
- Stippling: Applying small dots or specks of color in varying densities.
You can find inspiration for incorporating textures into your work from various sources like nature or fabric patterns. For additional guidance on creating textures using colored pencils, explore this tutorial on creating textures with colored pencils.
Incorporating these coloring techniques will elevate the quality of your work while making it more enjoyable and relaxing. Don’t be afraid to practice new skills – remember that every artist starts as a beginner.
Applying color techniques can help create beautiful and unique art pieces. Finishing touches are the last step to creating a perfect masterpiece.
Key Takeaway:
This section discusses popular coloring techniques such as shading, blending, and experimenting with textures. Shading adds depth to your artwork by creating the illusion of light and shadow while blending allows for smooth transitions between colors. Experimenting with textures can also add visual interest and depth to your creations.
Finishing Touches
Once the colors have been applied and your coloring page looks complete, it is time to refine its look with some finishing touches. These details can make a significant difference in bringing your artwork to life and giving it a polished appearance.
A. Adding Highlights
Highlights are essential for creating depth and dimension in your coloring pages. To create highlights, use lighter shades of the same color or white colored pencils on areas where light would naturally hit the object or figure you’re coloring.
- If using markers, consider investing in a white gel pen for adding highlights.
- Remember that less is more when applying highlights; overdoing them can make your artwork appear unnatural.
- Observe real-life objects or reference images to understand how light interacts with different surfaces and shapes.
B. Enhancing Shadows
In addition to highlights, shadows play an important role in making your coloring pages appear three-dimensional. Use darker shades of the base color or complementary colors to deepen shadows around edges and crevices within the image.
- Analyze where shadows should be placed based on light sources within the scene.
- Create smooth transitions between shadowed areas by blending outwards from dark regions towards lighter ones using a blending tool such as a tortillon or stump pencil blender.
C. Outlining & Embellishments
To give your finished piece added definition, try outlining certain elements with fine-tip pens like Micron pens or black colored pencils. This can make the subject of your coloring page stand out and create a crisp, clean look.
Additionally, you can add embellishments such as glitter gel pens, metallic markers, or even small stickers to enhance specific areas of your artwork. These extra touches will give your piece a unique and personalized feel.
D. Protecting Your Finished Work
Last but not least, it’s essential to protect your finished work from smudging or damage by using fixatives like spray sealants specifically designed for colored pencil art or placing them in protective sleeves if you plan on storing them in a binder.
By following these tips and techniques for finishing touches, you’ll be able to elevate the quality of your coloring pages while showcasing your creativity with Lifetime Coloring Books.
Key Takeaway:
To bring your coloring pages to life, add highlights and shadows using lighter or darker shades of the base color. Use fine-tip pens or black colored pencils for outlining elements and embellish with glitter gel pens or metallic markers. Protect your finished work from smudging by using fixatives like spray sealants designed for colored pencil art.
FAQ
What are the best tips for starting out with coloring books?
1. Choose a coloring book that appeals to you and your interests. Whether it is abstract designs, animals, landscapes or mandalas, pick something that will be enjoyable for you to work on. 2. Set aside enough time for the activity without distractions so that you can fully immerse yourself in the experience of coloring. 3. Start with lighter colors first and gradually move towards darker shades as this helps build up contrast within the image being colored-in and gives a sense of accomplishment when finished correctly! 4. Use quality materials such as high-quality markers or pencils with good pigment saturation to ensure vibrant colors throughout your project; avoid using cheaper alternatives which may not give desired results due to poor color payoff and fade easily over time. 5. Utilize various techniques like blending two colors together or creating textures by layering different hues on top of one another – these small details can make all the difference in transforming an ordinary piece into an extraordinary masterpiece!
What materials do I need to get started with coloring books?
To get started with coloring books, you will need a few basic materials. Firstly, you should have some colored pencils or markers to create the desired colors and effects in your artwork. Additionally, it is helpful to have an eraser on hand for any mistakes that may occur while coloring. Lastly, a good quality paper pad specifically designed for coloring is necessary as it helps prevent smudging and allows the colors to blend together better. With these tools at your disposal, you are ready to begin creating beautiful works of art!
How can I choose the right colors for my coloring book pages?
Choosing the right colors for your coloring book pages is an important part of creating a successful project. It’s best to start by considering the color wheel, which can help you understand how different colors work together and create interesting visual effects. You should also think about what type of mood or feeling you want to convey with each page and then select shades that match those feelings. Additionally, it helps to choose contrasting colors in order to make images stand out more clearly from one another on the page. Finally, experiment with combinations until you find something that works for your particular project!
Are there any special techniques that make coloring easier and more enjoyable?
Coloring can be a great way to relax and de-stress, as it allows you to focus on the task at hand. To make coloring easier and more enjoyable, there are several techniques that may help. Firstly, using good quality materials such as colored pencils or markers with soft leads will ensure smooth application of color onto the page. Secondly, utilizing patterns or shapes can provide structure for your artwork while still allowing for creative expression. Lastly, taking breaks when needed will prevent fatigue from setting in too quickly and allow you to continue enjoying your coloring session without feeling overwhelmed by it.
How often should I color in order to improve my skills?
It is recommended that adults color at least once a week to improve their skills. Coloring helps with fine motor control, creativity, and can help reduce stress levels. It also helps to stimulate the brain by allowing it to focus on details such as colors and shapes. The more often you color, the better your skills will become over time. However, it’s important not to overdo it; coloring for too long or too frequently can lead to fatigue and frustration which could impede progress rather than helping it along. So, find a balance that works for you and stick to it.
Conclusion
Coloring books can be an enjoyable pastime for those seeking a peaceful respite, or a creative opportunity for novices. By choosing the right coloring book, preparing your work area, understanding color theory, applying color techniques, and adding finishing touches, you can create beautiful works of art that you’ll be proud to display.
In summary, Coloring Books for Beginners: Tips and Techniques is all about exploring your creativity with colors. You don’t need any prior experience or artistic skills; just grab some coloring tools and start experimenting! With these tips in mind, you’re well on your way to creating stunning pieces of artwork.
If you’re looking for high-quality coloring books that will inspire your creativity further check out Lifetime Coloring Books. They offer an extensive collection of unique designs that cater to different skill levels. Get started today!
SHARE THE LOVE
LOOKING FOR SOMETHING?

Welcome to our blog!
Dive into our blog and discover free coloring pages—a creative journey begins here
Join Me On
Don't Miss Out! Grab Your Free Monthly Coloring Book by Signing Up
JOIN US ON A NEW ADVENTURE EVERY MONTH